
Stores
Manage → Stores. Stores belong to the list you’re in.
A store is just a name — Supermarket, Pharmacy, the farm shop — that you attach to products you usually buy there. The payoff is on the Shopping List: group it by store and you see exactly what to pick up in each place, with a total for the store.
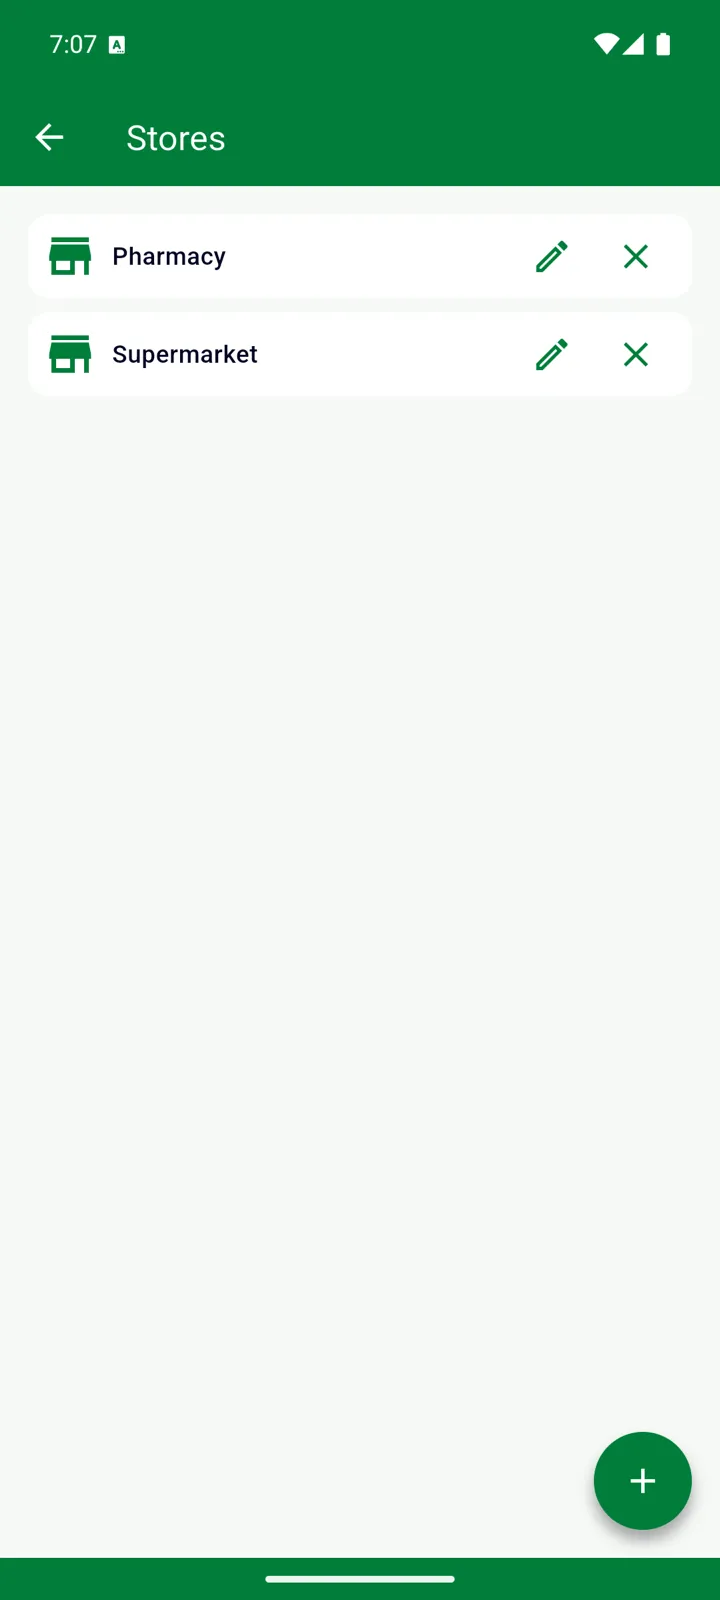
Adding stores
Section titled “Adding stores”-
Open Manage → Stores and tap +.
-
Type the Name and tap OK.
New lists start with no stores. You can also add one on the spot: when choosing a store on an item, tap + in the picker and the new store is selected straight away. The pencil renames a store.
Giving a product a preferred store
Section titled “Giving a product a preferred store”Open the item’s Edit form (or the product in Manage → Catalog) and tap the store row — it reads No preferred store until you choose one. The store belongs to the product, so it applies everywhere that product appears, in the Inventory as well as on the Shopping List.
The Shopping List by store
Section titled “The Shopping List by store”On the Shopping List tab, tap the store icon in the toolbar. Stores you’ve assigned items to appear as rows with a count; items with no store follow underneath. Tap a store to see just its items, with the total bar showing what that store will cost; the back arrow returns to the overview.
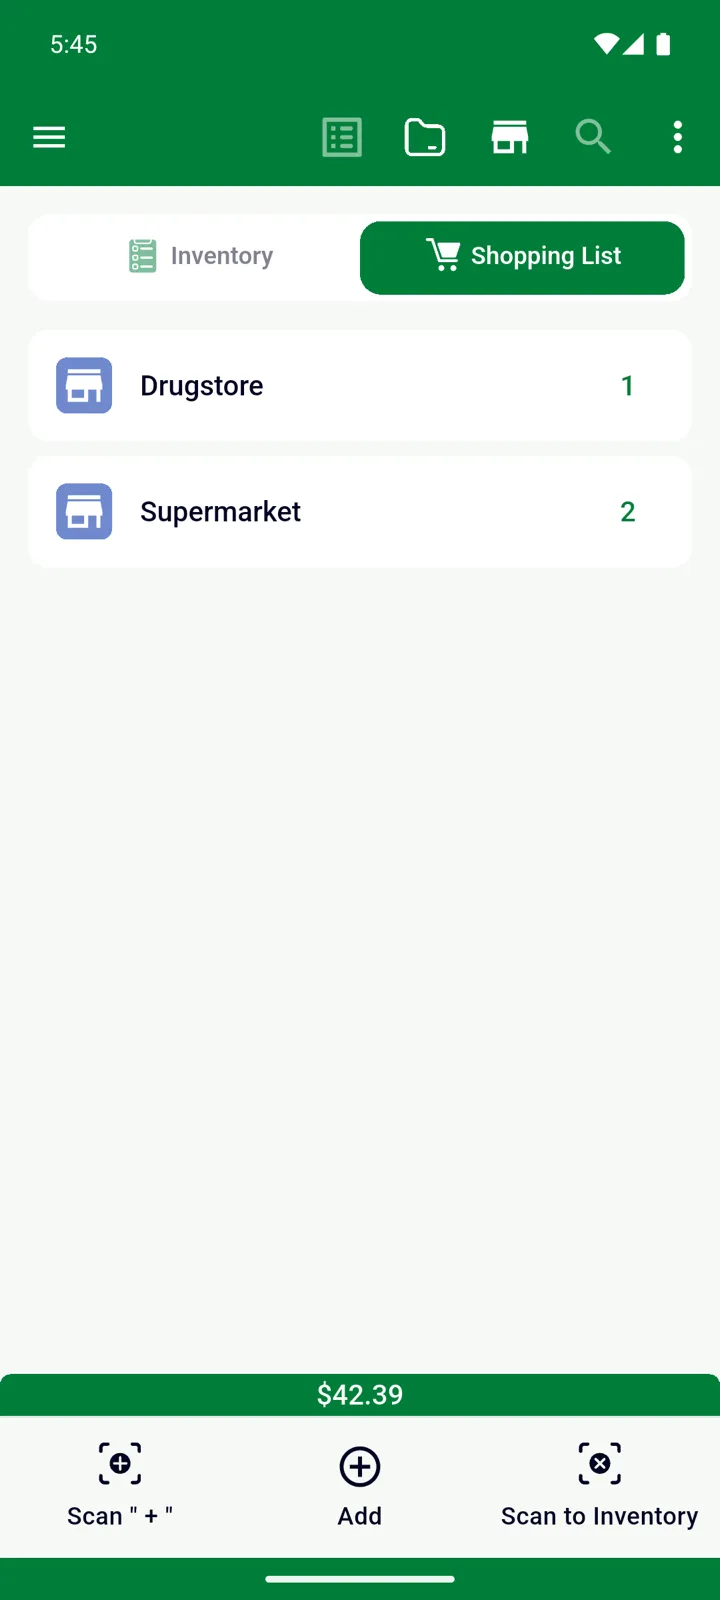
Two things happen automatically inside a store: an item you Add while you’re there gets that store, and Share List sends only that store’s items. See Using the Shopping List.
The Inventory tab doesn’t group by store — it groups by storage place instead.
Deleting a store
Section titled “Deleting a store”Tap ✕ next to the store and confirm.
Good to know
Section titled “Good to know”- Stores are per list. See Multiple lists.
- Don’t shop in different places? Untick Stores under Features and Fields and the store row and the toolbar button disappear.
- In Excel exports the store appears in the Store name - where to buy column, and imports create any stores they mention. See Excel export and import.
- The Android widget has its own store view, independent of the app’s.
Still need help? Contact us