
Getting started
InvenDo keeps track of what you have at home, where it is, when it expires and when you’re about to run out. This page covers your first five minutes; everything else is a link away at the end.
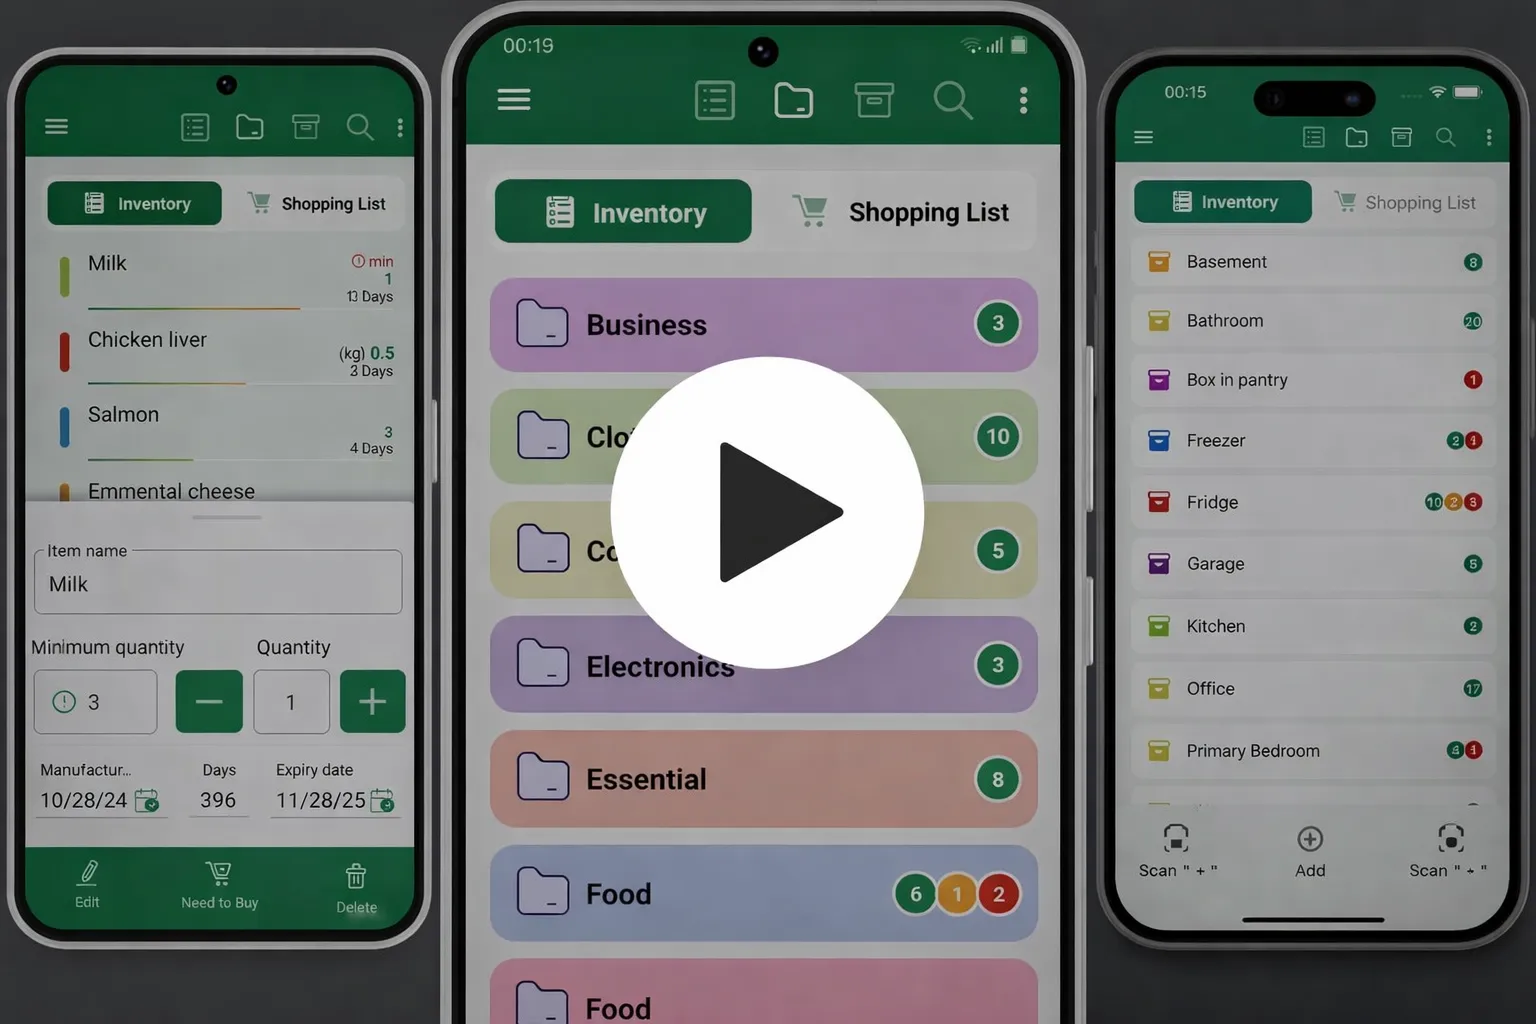
Prefer watching? The video tutorials on YouTube cover the same ground.
1. Sign in
Section titled “1. Sign in”Swipe through the three welcome screens and you’ll reach the sign-in screen.
- Sign in with Google — on every device.
- Sign in with Apple — on iPhone and iPad, and in the browser.
- Proceed without Account — Android only. Your items stay on this phone until you sign in.
Signing in is free. It backs up your items, keeps your devices in sync and is needed for sharing lists with your family. If you started without an account, you can add one at any time: open the menu ☰ and tap Log in — your items come along.
2. Sample items or a blank list?
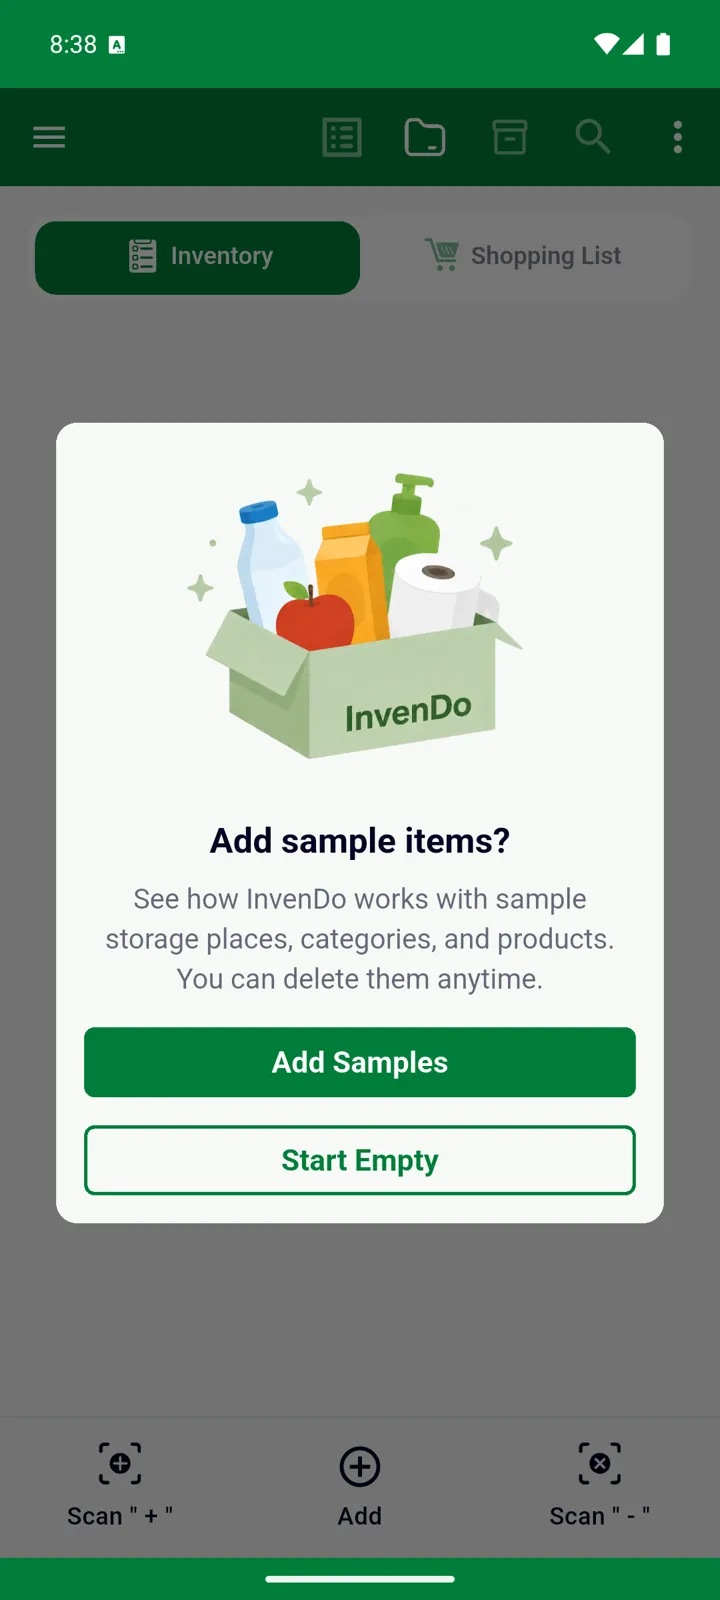
Section titled “2. Sample items or a blank list?”InvenDo asks Add sample items?
- Add Samples fills the list with four storage places — Fridge, Pantry, Bathroom and Wardrobe — eight categories and about twenty everyday items. A few of them are already running low or close to their expiry date, so you can see what the warnings look like. Delete them whenever you like.
- Start Empty gives you a blank list.
3. Turn on reminders
Section titled “3. Turn on reminders”Next, InvenDo asks whether it may send you notifications: Don’t miss important reminders. Tap Turn On Notifications and allow it when your phone asks. From then on you’ll get one reminder a day about items that have expired, items expiring soon and items running low.
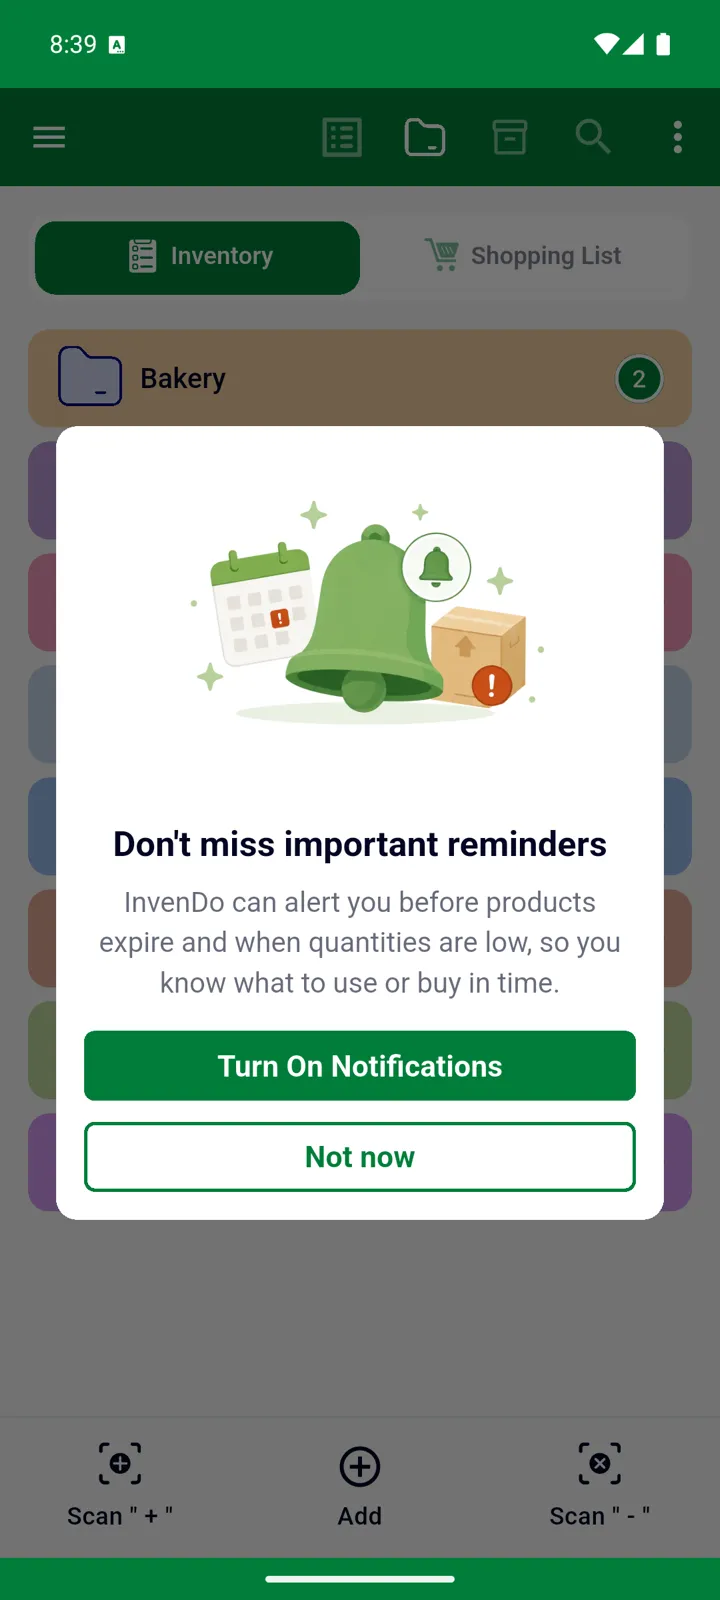
Tapped Not now? You can switch reminders on later in Settings → General → Show Notifications For. See Expiry dates and notifications.
4. Add your first item
Section titled “4. Add your first item”-
Make sure the Inventory tab is selected at the top.
-
Tap Add in the bottom bar.
-
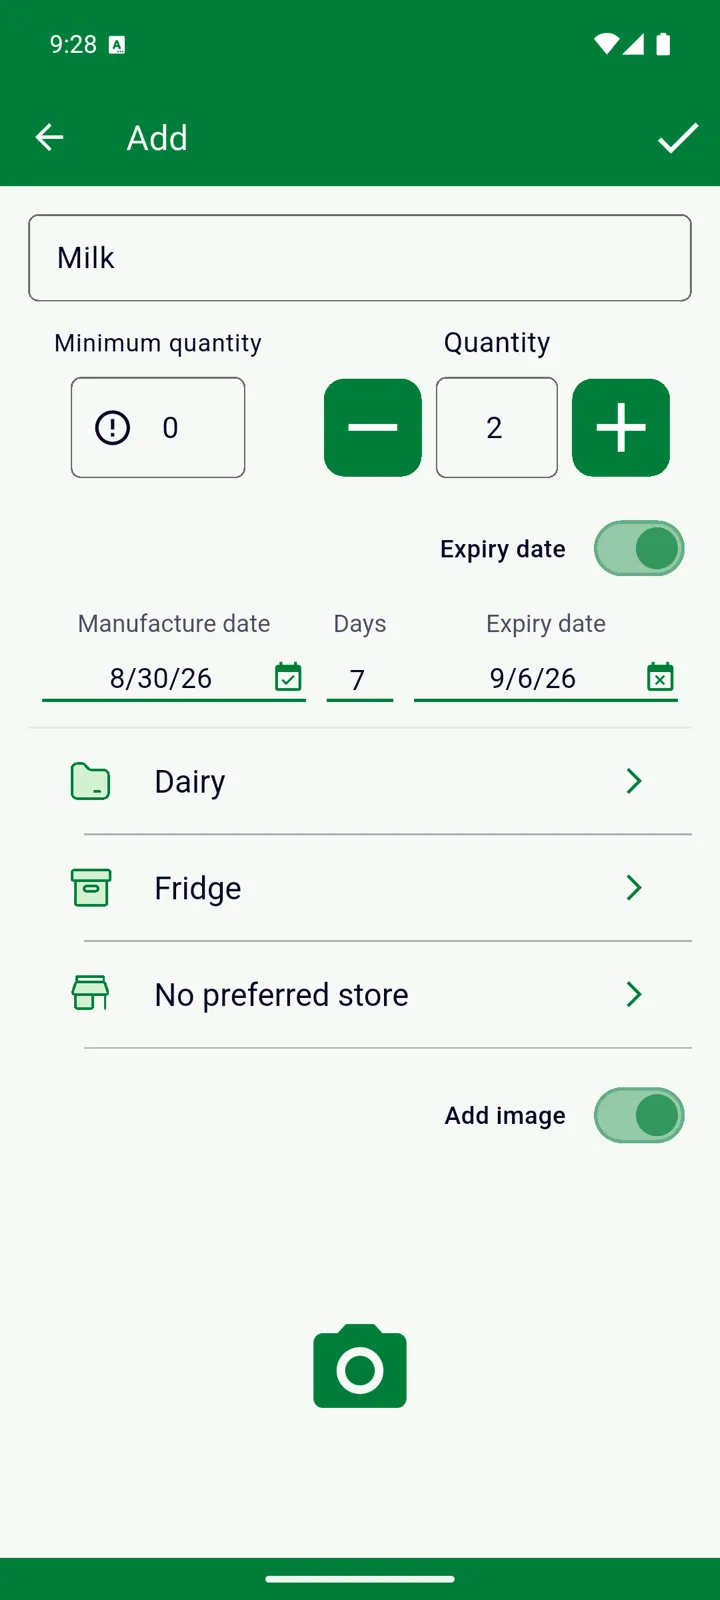
Type the name in Item name. As you type, InvenDo suggests names you’ve used before.
-
Set the quantity if it isn’t 1, and pick a category and a storage place. For food, medicines or cosmetics, enter the Expiry date. Every field is explained in Adding and editing items.
-
Tap ✓ in the top-right corner to save.
Got the pack in your hand? Tap Scan ” + ” instead of Add — scan the barcode and the form opens with it attached. The next time you scan that barcode, the name and details are filled in for you. See Scanning barcodes.
5. Put something on the shopping list
Section titled “5. Put something on the shopping list”Tap an item in your Inventory and choose Need to Buy — say how many, and it’s on the Shopping List tab. For something you don’t have yet, switch to the Shopping List tab and tap Add.
Back from the shop? Tap the item on the Shopping List and choose Move to Inventory. It comes off the list and goes into your Inventory, with a storage place and, if you like, an expiry date.
Where next
Section titled “Where next”- Getting around — what every button on the main screen does.
- Set up your first list — your storage places, categories, units and stores, in ten minutes.
- Opened items — mark a pack as opened and get a consume-by date.
- Share with family — one list for the whole household.
- Premium users can also use InvenDo in the browser at web.invendo.app — see InvenDo on the web.
Still need help? Contact us