
Adding and editing items
Every item in your Inventory is really two things: the product — milk, with its category, unit, price and barcodes — and the entry — this particular milk, two cartons, in the fridge, expiring on Friday. The form shows both together; this page explains which is which, and the quickest way to change each.
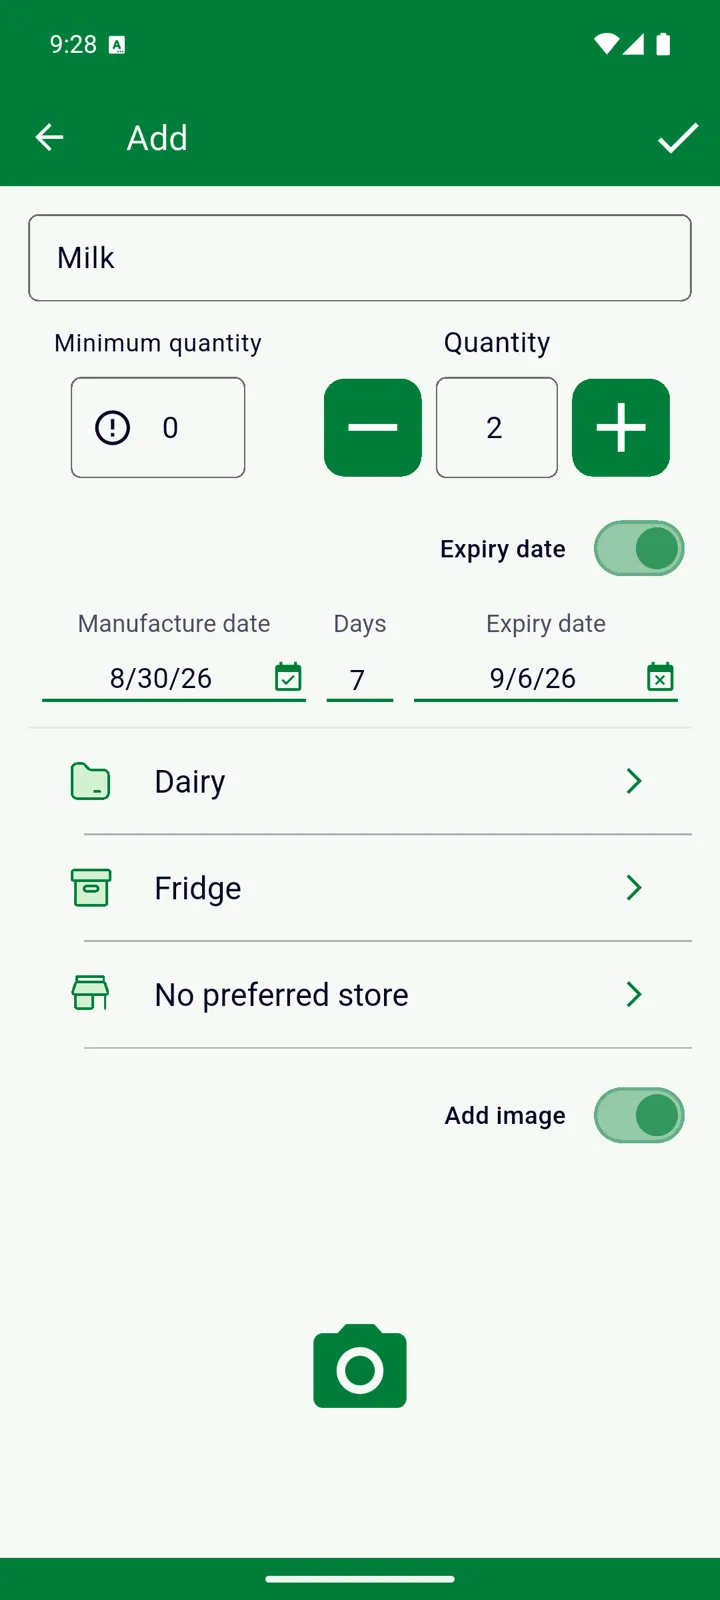
Adding an item
Section titled “Adding an item”-
On the Inventory tab, tap Add — or Scan ” + ” to start from a barcode (see Scanning barcodes).
-
Type the name in Item name. InvenDo suggests products it already knows, first those starting with what you typed, then those containing it; pick one and its details fill in. If you type a name that matches exactly, the same happens.
-
Set the Quantity — it starts at 1 — and, for food, the Expiry date.
-
Check the category and the storage place: InvenDo pre-fills the category you used last and the storage place you’re browsing.
-
Tap ✓ in the top-right corner.
If you already have that product with the same dates in the same place, the quantities are simply added together. Anything else — a different expiry date, a different storage place — becomes a separate entry, so two batches of milk stay two rows.
The form, top to bottom
Section titled “The form, top to bottom”| Field | What it’s for |
|---|---|
| Item name | The product’s name. Renaming it renames the product everywhere. |
| Minimum quantity | When you want a reminder to rebuy — see Minimum quantity and low stock. |
| Quantity | How many of this entry. Use the − and + buttons or type; decimals are fine (2.5 kg). Below it, the unit. |
| Expiry date switch | Off for things that don’t expire; the date fields disappear. |
| Manufacture date · Days · Expiry date | See Expiry dates and notifications. |
| Category · Storage · store | Where it belongs, where it is, and where you usually buy it. Each opens a picker with a + for creating a new one on the spot. |
| Add image | A photo from the gallery or the camera — a Premium feature. |
| Description | Anything worth remembering: brand, which shelf, “the good one”. |
| Unit of Measure · Price | The unit you count in, and what one costs. |
| Unit size | What one unit holds — 1 pack = 900 g. See Units and unit size. |
| Barcodes | Scan or type the pack’s barcodes; several per product are fine. |
Fields you never use can be switched off for the whole list under Features and Fields, or for one category under Enabled fields when editing a category.
Everyday changes: the quick panel
Section titled “Everyday changes: the quick panel”Tap an item in the list and a panel slides up with the essentials: the quantity (with − and +), the minimum quantity, when it was opened, and four buttons — Edit, Move, Need to Buy, Delete. Changes here are saved as you make them; there’s no ✓ to tap. Edit opens the full form, and so does dragging the panel all the way up.
Two swipes work straight on the list:
- Swipe left takes one off the quantity — useful when you’ve just used something. No confirmation, so swipe with intent.
- Swipe right puts the item on the Shopping List, asking how many.
Editing and deleting
Section titled “Editing and deleting”Open the full form with Edit to change anything else. Note that the form doesn’t show the barcode row when editing; barcodes are managed in the Barcodes section at the bottom.
Delete (in the quick panel, or via Select items for several) removes that entry. The product itself stays in the catalog with its details and barcodes, so the next time you buy it, everything is remembered.
Good to know
Section titled “Good to know”- If Delete items with zero quantity? is on in Features and Fields, an entry disappears the moment its quantity reaches 0 — from the quick panel, a swipe, or the form.
- On the web there’s no scan button in the Barcodes section — type the number instead. Photos come from a file on your computer.
Still need help? Contact us